Building a Real-Time Chat Application
Building a Real-Time Chat Application
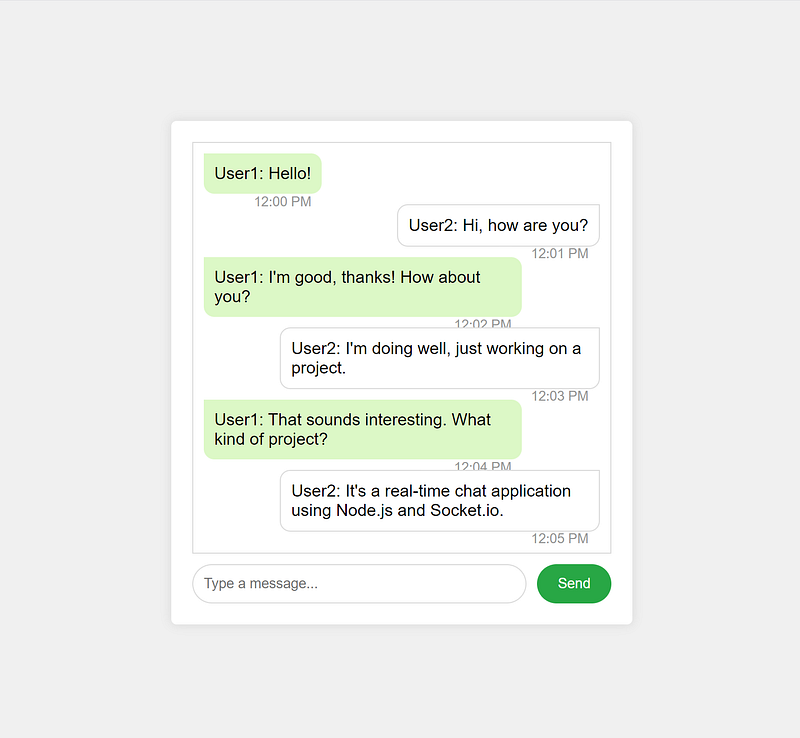
Real-time chat applications have become an integral part of modern web applications. From customer support to social networking, the need for instant communication is everywhere. In this blog, we’ll walk through building a simple real-time chat application using Node.js and Socket.io.
Prerequisites
Before we start, ensure you have Node.js and npm installed on your machine. You can download them from the official Node.js website. Basic knowledge of JavaScript and web development will also be helpful.
Setting Up the Project
- Create a Project Directory
- Create a new directory for your project and navigate into it:
mkdir real-time-chat
cd real-time-chat
Initialize the Project
Initialize a new Node.js project with npm:
npm init -yInstall Dependencies
Install the necessary dependencies: Express for the server, Socket.io for real-time communication, and EJS for templating:
npm install express socket.io ejsBuilding the Server
- Create the Server File
- Inside your project directory, create a new file named
server.js. This file will contain the server code.
const express = require('express');
const http = require('http');
const socketIo = require('socket.io');
const path = require('path');

const app = express();
const server = http.createServer(app);
const io = socketIo(server);

app.set('view engine', 'ejs');
app.use(express.static(path.join(__dirname, 'public')));

app.get('/', (req, res) => {
    res.render('index');
});

io.on('connection', (socket) => {
    console.log('New user connected');

    socket.on('chat message', (msg) => {
        io.emit('chat message', msg);
    });

    socket.on('disconnect', () => {
        console.log('User disconnected');
    });
});

const PORT = process.env.PORT || 3000;
server.listen(PORT, () => {
    console.log(`Server running on port ${PORT}`);
});- In this code, we set up an Express server, integrate Socket.io for real-time communication, and serve a simple HTML file using EJS.
Create the View
Create a new directory named views inside your project directory, and inside it, create a file named index.ejs. This file will contain the HTML for our chat interface.
<!DOCTYPE html>
<html lang="en">
<head>
    <meta charset="UTF-8">
    <meta name="viewport" content="width=device-width, initial-scale=1.0">
    <title>Real-Time Chat</title>
    <link rel="stylesheet" href="/style.css">
</head>
<body>
    <div id="chat-container">
        <div id="messages"></div>
        <form id="message-form">
            <input id="message-input" autocomplete="off" placeholder="Type a message..." />
            <button>Send</button>
        </form>
    </div>

    <script src="/socket.io/socket.io.js"></script>
    <script src="/script.js"></script>
</body>
</html>
Add CSS for Styling
Create a new directory named public inside your project directory, and inside it, create a file named style.css. This file will contain the CSS for our chat interface.
body {
    font-family: Arial, sans-serif;
    display: flex;
    justify-content: center;
    align-items: center;
    height: 100vh;
    background-color: #f0f0f0;
    margin: 0;
}

#chat-container {
    width: 400px;
    background: #fff;
    box-shadow: 0 0 10px rgba(0, 0, 0, 0.1);
    padding: 20px;
    border-radius: 5px;
}

#messages {
    height: 300px;
    overflow-y: scroll;
    border: 1px solid #ddd;
    padding: 10px;
    margin-bottom: 10px;
}

#message-form {
    display: flex;
}

#message-input {
    flex: 1;
    padding: 10px;
    border: 1px solid #ddd;
    border-radius: 3px;
    margin-right: 10px;
}

button {
    padding: 10px 20px;
    border: none;
    background: #28a745;
    color: #fff;
    border-radius: 3px;
    cursor: pointer;
}

button:hover {
    background: #218838;
}
Add Client-Side JavaScript
In the public directory, create a file named script.js. This file will contain the client-side JavaScript for handling Socket.io events.
const socket = io();

const form = document.getElementById('message-form');
const input = document.getElementById('message-input');
const messages = document.getElementById('messages');

form.addEventListener('submit', (e) => {
    e.preventDefault();
    if (input.value) {
        socket.emit('chat message', input.value);
        input.value = '';
    }
});

socket.on('chat message', (msg) => {
    const item = document.createElement('div');
    item.textContent = msg;
    messages.appendChild(item);
    messages.scrollTop = messages.scrollHeight;
});
Running the Application
To run the application, execute the following command in your terminal:
node server.jsYour chat application should now be running on http://localhost:3000/. Open the URL in multiple browser tabs or windows to see the real-time chat in action.
Conclusion
In this blog, we built a simple real-time chat application using Node.js and Socket.io. This example serves as a foundation for more complex applications. You can extend it by adding features like user authentication, private messaging, and chat rooms.
Real-time communication is a powerful feature that enhances user experience. With Node.js and Socket.io, building such applications becomes straightforward and efficient.


