How to Add Authentication with Google Authenticator in Node.js
How to Add Authentication with Google Authenticator in Node.js
Implementing two-factor authentication (2FA) can significantly enhance the security of your application. Google Authenticator is a popular choice for implementing 2FA. In this blog, we will explore how to add authentication using Google Authenticator in a Node.js application.
Prerequisites
- Basic knowledge of Node.js and Express.
- An existing Node.js application.
- A database to store user data (e.g., MySQL).
Step-by-Step Guide
1. Install Required Packages
To get started, you need to install the following npm packages:
npm install express otplib qrcode2. Set Up Your Express Server
First, set up a basic Express server:
const express = require('express');
const app = express();
const port = 3000;
app.use(express.json());
app.listen(port, () => {
console.log(`Server is running on http://localhost:${port}`);
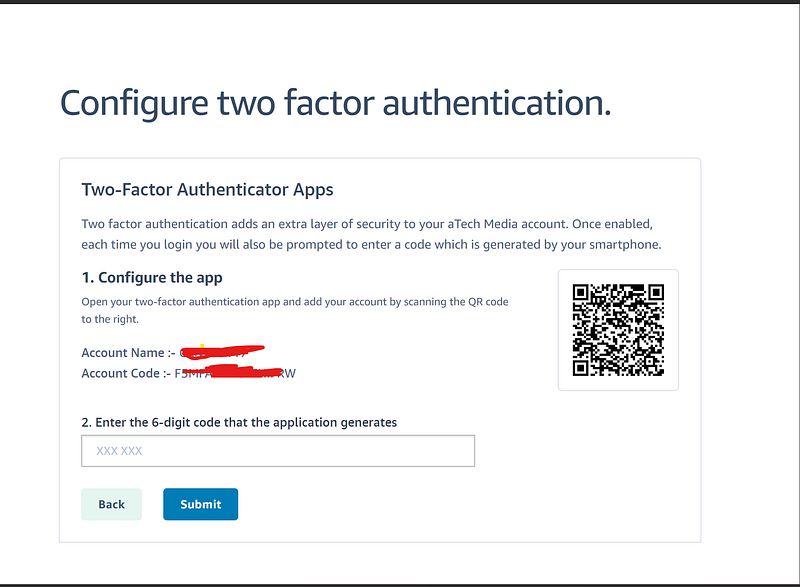
});3. Generate a QR Code for Google Authenticator
Next, create an endpoint to generate a QR code that the user can scan with Google Authenticator:
const { authenticator } = require('otplib');
const QRCode = require('qrcode');

app.get('/generate-qr', async (req, res) => {
  try {
    const user = { id: 'dummyUser123', email: 'user@example.com' }; // Dummy data
    let secret = authenticator.generateSecret();

    // In a real application, save this secret in the database
    // await db.query('UPDATE users SET auth_secret = ? WHERE id = ?', [secret, user.id]);

    const otpauth = authenticator.keyuri(user.email, 'YourAppName', secret);
    const qrCodeUrl = await QRCode.toDataURL(otpauth);

    res.json({ qrCodeUrl, secret });
  } catch (error) {
    res.status(500).json({ message: 'Error generating QR code', error: error.message });
  }
});
This endpoint generates a secret for the user and creates a QR code that they can scan with Google Authenticator.
4. Verify the OTP
Create an endpoint to verify the OTP provided by the user:
app.post('/verify-otp', async (req, res) => {
  const { otp, secret } = req.body; // In a real application, retrieve the secret from the database

  try {
    const isValid = authenticator.check(otp, secret);

    if (isValid) {
      res.json({ message: 'OTP verified successfully' });
    } else {
      res.status(400).json({ message: 'Invalid OTP' });
    }
  } catch (error) {
    res.status(500).json({ message: 'Error verifying OTP', error: error.message });
  }
});
5. Integrate with Your User Authentication
In a real application, you would integrate these endpoints with your user authentication flow. For example, after a user logs in with their username and password, you could prompt them to scan the QR code if they haven’t already set up 2FA. When they provide the OTP, you would verify it before granting access to sensitive parts of your application.
Conclusion
Adding Google Authenticator-based 2FA to your Node.js application can significantly enhance its security. By following the steps outlined in this guide, you can implement 2FA in your application using dummy data for testing. For a production implementation, remember to securely store secrets and handle user data appropriately.
Feel free to ask if you have any questions or need further assistance!


